Flexibility & Mobility
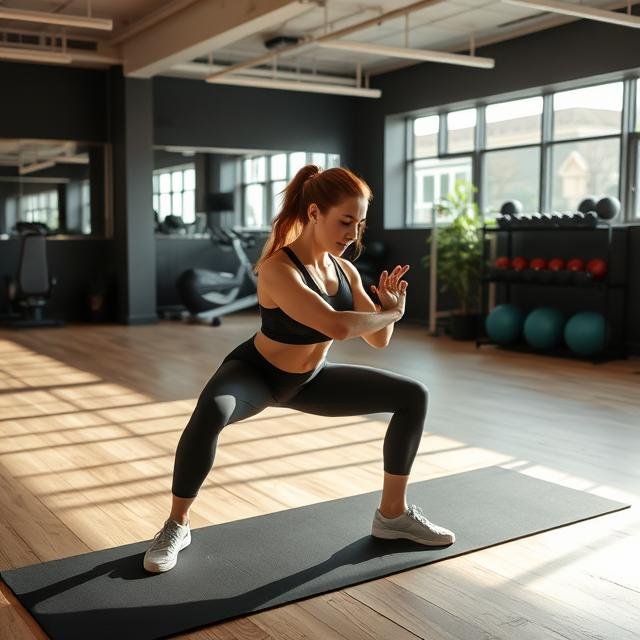
Flexibility and mobility are essential components of overall fitness, contributing to better movement, reduced risk of injury, and enhanced athletic performance. Flexibility refers to the ability of muscles and tendons to stretch, while mobility involves the range of motion within the joints and how well you can move through that range with control. Together, they improve posture, reduce muscle stiffness, and support proper body mechanics during exercise and daily activities. Regular stretching, dynamic warm-ups, and mobility drills—such as foam rolling or joint circles—can enhance both flexibility and mobility. Incorporating these practices into your fitness routine helps maintain functional movement, especially as the body ages or becomes tight from intense workouts or sedentary habits.
Yoga
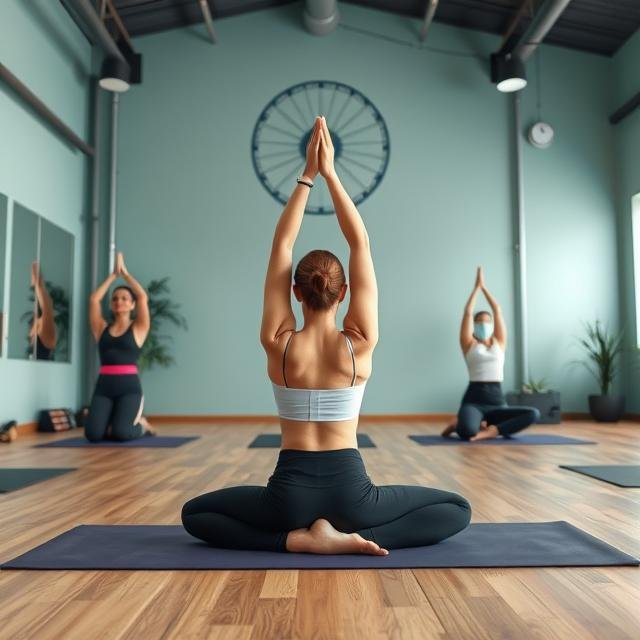
Yoga is a mind-body practice that combines physical postures, controlled breathing, and meditation to promote flexibility, strength, balance, and inner calm. Originating in ancient India, yoga has evolved into various styles—from slow and gentle practices like Hatha to more intense, flowing sequences like Vinyasa or Power Yoga. Physically, it enhances muscle tone, joint mobility, and core stability, while mentally, it reduces stress, improves focus, and supports emotional well-being. Whether you’re looking to improve your posture, recover from intense workouts, or simply unwind, yoga offers benefits for both beginners and advanced practitioners alike. Its adaptability makes it accessible to all fitness levels and a valuable addition to any wellness routine.
There are many types of yoga, each with its own unique focus, benefits, and intensity levels. Here’s an overview of some popular styles of yoga:
1. Hatha Yoga
✅ Focus: Basic Postures, Breathwork, Alignment
🔹 Overview:
Hatha yoga is a broad category of yoga that includes many physical postures (asanas) and breath control techniques (pranayama). It’s ideal for beginners due to its slower pace and emphasis on alignment.
🔹 Benefits:
- Improves flexibility and strength
- Helps with stress relief and relaxation
- Suitable for beginners
2. Vinyasa Yoga
✅ Focus: Flowing Movements, Breath-Synchronized Movements
🔹 Overview:
Vinyasa yoga, often called “flow” yoga, links breath with movement. In this style, you transition smoothly between poses in a flowing manner, often synchronizing each movement with an inhale or exhale.
🔹 Benefits:
- Enhances cardiovascular endurance
- Builds strength and flexibility
- Focuses on fluidity and mindfulness
3. Ashtanga Yoga
✅ Focus: Structured Sequences, Fast-Paced
🔹 Overview:
Ashtanga yoga is a fast-paced and rigorous style that follows a specific sequence of poses in a set order. It emphasizes synchronization of breath with movement (vinyasa) and aims to purify the body and mind through a continuous flow.
🔹 Benefits:
- Increases strength and flexibility
- Detoxifies the body
- Builds mental discipline and focus
4. Bikram Yoga
✅ Focus: Hot Yoga, 26 Poses, Breathing Techniques
🔹 Overview:
Bikram yoga is practiced in a heated room (around 105°F or 40°C) and consists of a series of 26 poses and two breathing exercises. The heat is intended to help detoxify the body and improve flexibility.
🔹 Benefits:
- Enhances flexibility due to the warmth
- Increases endurance and stamina
- Supports detoxification
5. Iyengar Yoga
✅ Focus: Precision, Alignment, Use of Props
🔹 Overview:
Iyengar yoga is known for its emphasis on correct alignment and precise movements. It often involves the use of props such as blocks, straps, and blankets to help practitioners achieve proper alignment and deepen their practice.
🔹 Benefits:
- Improves posture and alignment
- Helps with injury recovery
- Suitable for all levels, including those with limitations
6. Kundalini Yoga
✅ Focus: Energy Awakening, Spiritual Growth, Breathwork
🔹 Overview:
Kundalini yoga combines physical postures, dynamic breathing exercises, the chanting of mantras, and meditation to awaken the dormant energy (kundalini) believed to be located at the base of the spine. It is a spiritual practice that aims to elevate consciousness.
🔹 Benefits:
- Increases energy and vitality
- Balances mental, physical, and emotional health
- Enhances spiritual awareness
7. Restorative Yoga
✅ Focus: Deep Relaxation, Gentle Postures
🔹 Overview:
Restorative yoga is a very gentle and calming practice that uses props to support the body in restful poses for extended periods (usually 5–15 minutes per pose). It’s designed to promote deep relaxation and stress reduction.
🔹 Benefits:
- Helps with stress relief and relaxation
- Supports recovery from physical and emotional exhaustion
- Restores energy and promotes healing
8. Yin Yoga
✅ Focus: Long Holds, Deep Stretching, Joint Health
🔹 Overview:
Yin yoga involves holding passive poses for extended periods (3-5 minutes or more). It targets the deep connective tissues, like ligaments and fascia, and encourages flexibility and joint mobility.
🔹 Benefits:
- Improves flexibility, especially in the hips, back, and legs
- Increases joint health and mobility
- Promotes mindfulness and mental clarity
9. Power Yoga
✅ Focus: Strength, Flexibility, Endurance
🔹 Overview:
Power yoga is a high-energy style that combines aspects of Vinyasa and Ashtanga yoga. It focuses on strength-building, flexibility, and endurance through fast-paced, dynamic sequences.
🔹 Benefits:
- Builds muscle strength and endurance
- Improves flexibility and balance
- High-intensity workout that increases cardiovascular fitness
10. Anusara Yoga
✅ Focus: Heart-Centered, Alignment-Based
🔹 Overview:
Anusara yoga is a modern style of Hatha yoga that blends alignment principles with a heart-centered philosophy. It focuses on creating a positive attitude and connecting with inner joy and strength.
🔹 Benefits:
- Improves alignment and balance
- Promotes physical and emotional well-being
- Cultivates a positive mindset and heart connection
11. Chair Yoga
✅ Focus: Gentle, Accessible for Seniors/Those with Limited Mobility
🔹 Overview:
Chair yoga is a gentle form of yoga practiced while sitting on or standing beside a chair. It’s suitable for seniors, individuals with disabilities, or anyone who wants a low-impact yoga experience.
🔹 Benefits:
- Improves flexibility and mobility
- Enhances strength and coordination
- Supports mental clarity and relaxation
12. Sivananda Yoga
✅ Focus: Traditional Approach, Philosophy, 12 Poses
🔹 Overview:
Sivananda yoga is based on a traditional approach to yoga that integrates physical postures (asanas), breathing exercises (pranayama), relaxation, and meditation. It follows a sequence of 12 basic poses, with a focus on holistic health.
🔹 Benefits:
- Builds physical strength and flexibility
- Promotes mental clarity and peace
- Encourages a balanced, healthy lifestyle
13. AcroYoga
✅ Focus: Partner-Based, Playful, Strength and Trust
🔹 Overview:
AcroYoga combines yoga, acrobatics, and Thai massage. It’s usually practiced with a partner and involves balancing, lifting, and supporting each other in different poses.
🔹 Benefits:
- Builds trust, balance, and strength
- Enhances teamwork and communication
- Increases flexibility and coordination
14. Viniyoga
✅ Focus: Therapeutic, Adaptable
🔹 Overview:
Viniyoga is a more personalized and therapeutic form of yoga. It is tailored to the individual’s needs, abilities, and health conditions. The practice emphasizes breath and movement, and can be adapted to suit specific conditions, such as chronic pain or injuries.
🔹 Benefits:
- Suitable for those with specific health concerns
- Focuses on therapeutic healing and recovery
- Encourages breath-centered movement and meditation
15. Jivamukti Yoga
✅ Focus: Spiritual, Eclectic, Music and Chanting
🔹 Overview:
Jivamukti yoga is a spiritually focused practice that blends physical postures, chanting, meditation, and music. It emphasizes the philosophy of non-violence (ahimsa) and living a mindful, compassionate life.
🔹 Benefits:
- Enhances strength, flexibility, and balance
- Promotes spiritual growth and mindfulness
- Encourages compassion and ethical living
Conclusion
With so many types of yoga to choose from, it’s important to find a style that aligns with your goals, whether it’s physical fitness, mental relaxation, spiritual growth, or injury recovery. You can experiment with different types and discover which one suits your body and mind the best.
Crunches
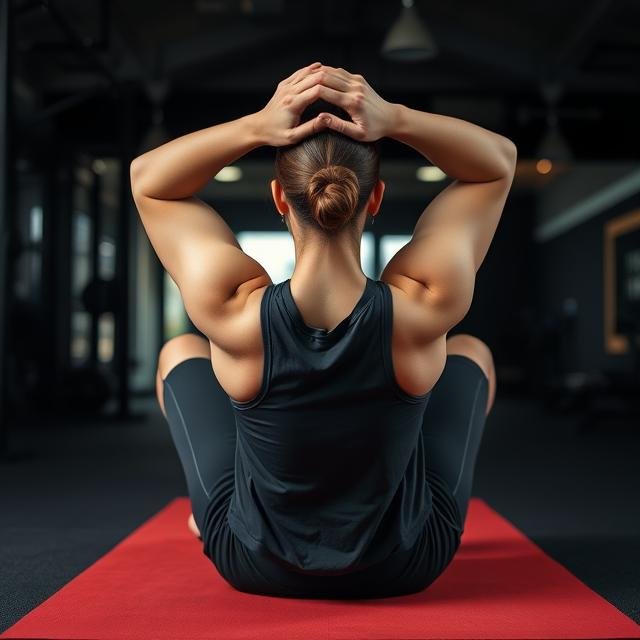
The crunch is a classic abdominal exercise designed to strengthen and tone the core, particularly the rectus abdominis—the muscle responsible for the “six-pack” look. To perform a crunch, lie on your back with your knees bent and feet flat on the floor, place your hands behind your head or across your chest, and lift your upper back off the ground using your abdominal muscles while keeping your lower back in contact with the floor. Unlike a full sit-up, the crunch involves a smaller range of motion, making it easier on the lower back while still effectively targeting the abs. Consistent practice of crunches, especially when combined with proper nutrition and overall fitness, can contribute to improved core stability, better posture, and enhanced athletic performance.
Here are some types of crunches that target different areas of your abdominal muscles:
1. Standard Crunch
- Target: Upper abdominals.
- How to Do It: Lie on your back with your knees bent, feet flat on the floor. Place your hands behind your head or crossed on your chest. Lift your shoulders off the ground by engaging your core, bringing your chest toward your knees. Lower back down with control.
2. Bicycle Crunch
- Target: Upper and lower abdominals, obliques.
- How to Do It: Lie on your back with your hands behind your head. Bring one knee toward your chest and twist your torso to bring your opposite elbow toward the knee. Extend the opposite leg straight as you rotate. Alternate sides in a pedaling motion.
3. Reverse Crunch
- Target: Lower abdominals.
- How to Do It: Lie on your back with your hands by your sides or underneath your glutes. Bend your knees and lift your legs toward the ceiling. Engage your lower abs to curl your hips off the floor, bringing your knees toward your chest, then lower with control.
4. Decline Crunch
- Target: Upper abdominals with added resistance.
- How to Do It: Lie on a decline bench with your head at the lower end. Cross your arms over your chest or place your hands behind your head. Perform a standard crunch, lifting your torso toward your knees. The decline position increases the intensity by using gravity.
5. Oblique Crunch
- Target: Obliques (side abdominals).
- How to Do It: Lie on your back with your knees bent and feet flat on the floor. Place your hands behind your head. As you crunch, twist your torso to one side, bringing your elbow toward the opposite knee. Repeat on both sides.
6. V-Crunch
- Target: Upper and lower abdominals.
- How to Do It: Lie on your back and extend your arms and legs straight. Lift your legs and torso simultaneously, bringing them together to form a “V” shape. Reach your hands toward your feet, engaging both the upper and lower abs.
7. Cable Crunch
- Target: Upper and lower abdominals (with resistance).
- How to Do It: Kneel in front of a cable machine with a rope attachment above your head. Grab the rope and bring it down behind your neck. Crunch your torso forward, bringing your elbows toward your knees. Control the weight as you return to the starting position.
8. Cross-Body Crunch
- Target: Upper abs and obliques.
- How to Do It: Lie on your back with knees bent and feet flat on the floor. Place your hands behind your head. As you crunch up, twist your torso and bring your left elbow toward your right knee, and then alternate sides, bringing your right elbow toward your left knee.
9. Sitting Crunch
- Target: Upper abs.
- How to Do It: Sit on the floor with your knees bent and feet flat on the floor. Place your hands on your thighs or behind your head. Lean back slightly and, engaging your core, crunch your torso forward toward your knees. This can be done without weight or by holding a weight for added resistance.
10. Ball Crunch
- Target: Upper abdominals.
- How to Do It: Sit on a stability ball with your feet flat on the floor and your knees at a 90-degree angle. Cross your arms over your chest or place them behind your head. Lean back slightly, and perform a crunch by lifting your torso toward your knees. The instability of the ball increases the intensity of the crunch.
11. Long Arm Crunch
- Target: Upper abdominals.
- How to Do It: Lie on your back and extend your arms above your head, keeping them straight. Perform a standard crunch, reaching your arms toward your knees. The extended arms increase the range of motion and intensity of the crunch.
12. Standing Crunch
- Target: Upper abs and obliques.
- How to Do It: Stand tall with your hands behind your head. Bring one knee up toward your chest while twisting your torso to the opposite side. This variation engages the core and adds a balance element to the movement.
13. Spider-Man Crunch
- Target: Obliques and upper abs.
- How to Do It: Start in a plank position. As you crunch, bring one knee toward the opposite elbow, twisting your torso to engage the obliques. Alternate sides, engaging your core to maintain stability.
These crunch variations are excellent for targeting different parts of your abdominal muscles, from the upper abs to the obliques and lower abs. By incorporating a mix of these into your routine, you can build a stronger, more defined core.
Stretching Exercise
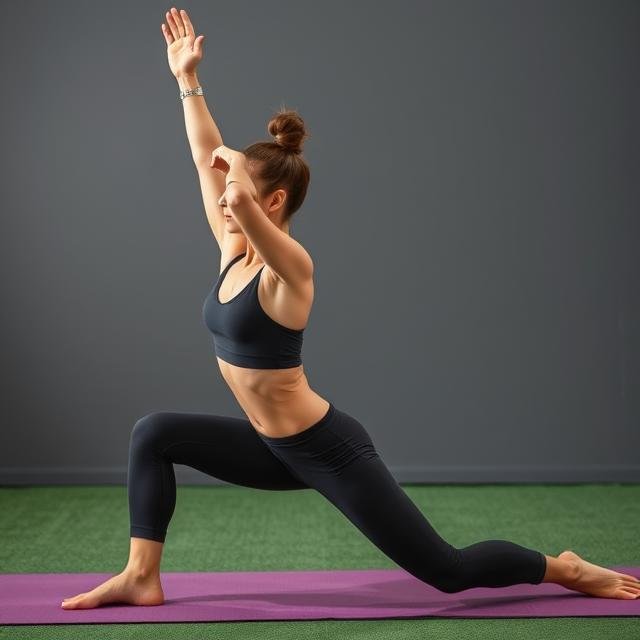
Stretching exercises are essential for improving flexibility, enhancing muscle elasticity, and promoting overall physical well-being. These exercises involve gently lengthening muscles and tendons to increase range of motion in the joints, which helps prevent injuries, reduce muscle stiffness, and improve posture. Stretching can be dynamic—performed with movement as part of a warm-up—or static, where a position is held for several seconds after a workout to cool down. Regular stretching also supports better circulation, relieves stress, and can alleviate muscle tension caused by daily activities or intense training. Incorporating stretching into your routine contributes to a balanced fitness regimen and supports long-term mobility and joint health.
Here are the main types of stretching exercises:
1. Static Stretching
✅ Focus: Holding a stretch for a prolonged period to improve flexibility.
🔹 Overview:
In static stretching, you stretch a muscle to its farthest point and hold the position for a set amount of time, usually 15-60 seconds. This type of stretching is best done after a workout or physical activity to help the muscles relax and lengthen.
🔹 Benefits:
- Increases flexibility and range of motion
- Reduces muscle tightness
- Helps in muscle recovery
🔹 Examples:
- Hamstring Stretch: Sitting on the floor with one leg extended and reaching for your toes.
- Quadriceps Stretch: Standing and pulling one foot toward your buttocks to stretch the front of your thigh.
2. Dynamic Stretching
✅ Focus: Active movements that stretch the muscles while they’re in motion.
🔹 Overview:
Dynamic stretching involves controlled, smooth movements that take your muscles and joints through their full range of motion. This type of stretching is commonly done before exercise to prepare the muscles for activity.
🔹 Benefits:
- Prepares muscles for physical activity
- Increases blood flow to muscles
- Improves flexibility and joint mobility
- Enhances coordination and balance
🔹 Examples:
- Leg Swings: Swing one leg forward and backward or side to side, gently increasing the range of motion.
- Arm Circles: Make large circles with your arms to warm up your shoulder joints.
3. Ballistic Stretching
✅ Focus: Using momentum and bouncy movements to stretch muscles.
🔹 Overview:
Ballistic stretching involves bouncing or jerking movements to push the body beyond its normal range of motion. It is more aggressive and can be risky if done incorrectly, as it may lead to muscle strains.
🔹 Benefits:
- Can increase flexibility when done properly
- Helps improve range of motion quickly (when done in moderation)
🔹 Examples:
- Bouncing Toe Touches: Standing and bouncing down to touch your toes, then back up.
- Bouncing Leg Stretch: Swinging your leg forward and backward in a quick, jerking motion.
Note: This type of stretching is generally not recommended for beginners and should be avoided if you have joint issues or injuries.
4. PNF Stretching (Proprioceptive Neuromuscular Facilitation)
✅ Focus: Contracting and relaxing muscles to increase range of motion.
🔹 Overview:
PNF stretching is a technique that involves both stretching and contracting the muscle group being targeted. Typically, it is done with a partner, but it can also be done alone using resistance bands or static objects.
🔹 Benefits:
- Highly effective at increasing flexibility
- Enhances muscle strength
- Improves joint range of motion
🔹 Examples:
- Hold-Relax PNF Stretch: Stretch a muscle, contract it isometrically (hold without moving) for about 5-10 seconds, then relax and deepen the stretch for 15-30 seconds.
- Contract-Relax PNF Stretch: Stretch a muscle, contract it with resistance (such as a partner pushing against your stretch), relax, and stretch further.
5. Active Stretching
✅ Focus: Holding a stretch using only the strength of your muscles, without relying on external force.
🔹 Overview:
Active stretching involves holding a stretch using your own muscles rather than external support. It is usually done with minimal to no movement and requires strength and stability.
🔹 Benefits:
- Increases strength and flexibility
- Helps to improve muscle control and awareness
- Increases endurance over time
🔹 Examples:
- Standing Leg Raise: Raise your leg to the front, side, or back and hold it using the strength of your muscles.
- Lunge Stretch: Lunge forward, and hold the stretch while keeping your back leg straight and your hip open.
6. Passive Stretching
✅ Focus: Using external force (e.g., gravity, a partner, or an object) to assist in the stretch.
🔹 Overview:
In passive stretching, you rely on gravity, a partner, or props (such as a strap or yoga block) to hold a stretch rather than using your own muscle strength. This is often done to achieve a deeper stretch.
🔹 Benefits:
- Increases flexibility
- Can be more relaxing than active stretching
- Useful for those with limited mobility or flexibility
🔹 Examples:
- Assisted Hamstring Stretch: Lying on your back with one leg raised and a partner helping to stretch the hamstring.
- Wall Stretch: Using a wall to help stretch your calf or quadriceps.
7. Myofascial Release (Self-Massage Stretching)
✅ Focus: Using pressure to release muscle tightness and improve range of motion.
🔹 Overview:
Myofascial release uses foam rollers or massage balls to apply pressure on specific areas of the body. It helps release tension, improve blood flow, and increase muscle flexibility.
🔹 Benefits:
- Relieves muscle tightness and stiffness
- Reduces muscle pain and discomfort
- Enhances overall muscle flexibility
🔹 Examples:
- Foam Rolling: Roll over large muscle groups (e.g., quads, hamstrings, calves) slowly, applying pressure to areas of tightness.
- Massage Ball: Use a tennis ball or massage ball on specific areas like your shoulders, upper back, or calves.
Stretching Tips:
- Warm up first: Stretching cold muscles can lead to injury. Always do a light warm-up (e.g., walking or jogging) before stretching.
- Don’t bounce: Avoid ballistic stretching unless you’re an advanced practitioner. Bouncing can lead to muscle strains.
- Focus on breathing: Breathe deeply and relax into the stretch, never forcing your body to go beyond its limits.
- Consistency is key: Stretch regularly to improve flexibility and reduce the risk of injury.
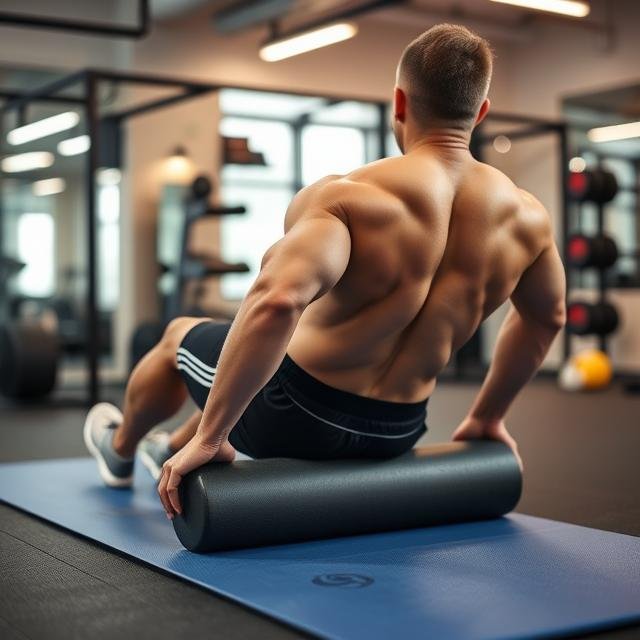
Foam Rolling
Foam rolling is a self-myofascial release technique that helps relieve muscle tightness, soreness, and inflammation while increasing joint range of motion. Using a cylindrical foam roller, individuals apply pressure to specific muscle groups by slowly rolling over them, targeting trigger points or “knots” that develop from overuse or tension. Commonly used before workouts to warm up the muscles or after exercise to aid recovery, foam rolling can enhance blood flow, reduce delayed onset muscle soreness (DOMS), and improve flexibility. It’s a simple yet effective tool for maintaining muscle health, promoting faster recovery, and preventing injury when integrated regularly into a fitness routine.
Here are different types of foam rolling exercises for various muscle groups.
1. Upper Body Foam Rolling
1.1. Upper Back (Thoracic Spine) Roll
- Target Area: Upper back, thoracic spine
- How to Do It:
- Sit on the floor with your feet flat and knees bent.
- Place the foam roller behind your upper back, just below the shoulder blades.
- Support your head and neck with your hands and slowly roll back and forth over your upper back, keeping your body straight.
- Focus on tight areas and spend extra time on sore spots.
- Sit on the floor with your feet flat and knees bent.
1.2. Latissimus Dorsi (Lats) Roll
- Target Area: Lats (upper back sides)
- How to Do It:
- Lie on your side with the foam roller placed under your armpit area, just below your shoulder.
- Roll from your armpit down to the top of your waistline, moving slowly back and forth.
- Adjust your body position if needed to apply pressure along the length of your lat muscles.
- Lie on your side with the foam roller placed under your armpit area, just below your shoulder.
1.3. Trapezius (Traps) Roll
- Target Area: Upper trapezius (shoulders and neck)
- How to Do It:
- Sit down and place the foam roller on one side of your neck, near the base of the skull.
- Slowly roll the foam roller down along the trapezius, applying moderate pressure.
- Tilt your head to one side to help target the muscle.
- Sit down and place the foam roller on one side of your neck, near the base of the skull.
2. Lower Body Foam Rolling
2.1. Quadriceps Roll
- Target Area: Front of thighs
- How to Do It:
- Lie face down with the foam roller placed just above your knees on the front of your thighs.
- Prop your body up on your forearms to control pressure.
- Slowly roll from your knees up to your hip flexors, focusing on tight spots.
- To increase intensity, stack one leg on top of the other.
- Lie face down with the foam roller placed just above your knees on the front of your thighs.
2.2. Hamstrings Roll
- Target Area: Back of thighs
- How to Do It:
- Sit on the floor with your legs extended and the foam roller placed under your thighs.
- Roll from just above your knees up to your glutes.
- You can stack one leg on top of the other to increase the intensity.
- Sit on the floor with your legs extended and the foam roller placed under your thighs.
2.3. IT Band (Iliotibial Band) Roll
- Target Area: Outer thighs
- How to Do It:
- Lie on your side with the foam roller placed on the outside of your thigh, just below your hip.
- Use your arms for support as you slowly roll from your hip to your knee.
- The IT band can be sensitive, so apply pressure slowly and stop at any tight spots.
- Lie on your side with the foam roller placed on the outside of your thigh, just below your hip.
2.4. Glute Roll
- Target Area: Glute muscles (buttocks)
- How to Do It:
- Sit on the foam roller with one leg bent and the other leg crossed over the bent knee.
- Tilt your hips slightly to roll out the glute area.
- For more intense pressure, cross your legs and focus on specific tight spots in the glute.
- Sit on the foam roller with one leg bent and the other leg crossed over the bent knee.
2.5. Calf Roll
- Target Area: Calves (lower legs)
- How to Do It:
- Sit on the floor with your legs extended and the foam roller placed under your calves.
- Lift your hips off the ground, using your arms for support.
- Slowly roll from your ankles up to your knees.
- You can increase the intensity by stacking one leg over the other.
- Sit on the floor with your legs extended and the foam roller placed under your calves.
3. Full Body Foam Rolling
3.1. Lower Back Roll
- Target Area: Lower back (lumbar spine)
- How to Do It:
- Lie on your back with the foam roller placed horizontally under your lower back.
- Lift your hips and roll gently from your lower back up to your mid-back.
- Be cautious not to overextend or apply too much pressure on the spine.
- Lie on your back with the foam roller placed horizontally under your lower back.
3.2. Full Body Roll
- Target Area: Multiple muscle groups
- How to Do It:
- Start from the lower body (calves, hamstrings, and quads) and gradually work your way up to the upper body (glutes, lats, and upper back).
- Spend extra time on areas that are particularly tight or sore.
- Keep your movements slow and controlled.
- Start from the lower body (calves, hamstrings, and quads) and gradually work your way up to the upper body (glutes, lats, and upper back).
4. Advanced Foam Rolling Techniques
4.1. Targeted Pressure Points (Trigger Point Foam Rolling)
- Target Area: Specific muscle knots or trigger points
- How to Do It:
- Identify any tight or tender spots in your muscles.
- Place the foam roller directly on these trigger points and apply pressure for 20-30 seconds, then slowly release.
- Roll back and forth gently to break up muscle knots.
- Identify any tight or tender spots in your muscles.
4.2. Double Leg Foam Rolling
- Target Area: Both legs simultaneously
- How to Do It:
- Lie on your back and place the foam roller under both legs (e.g., calves or hamstrings).
- Use both legs simultaneously to roll over larger muscle groups.
- Adjust the intensity by shifting your body weight to either leg as needed.
- Lie on your back and place the foam roller under both legs (e.g., calves or hamstrings).
Foam Rolling Tips:
- Take It Slow: Move slowly and focus on tight or sore areas. This will allow the muscles to release and reduce stiffness.
- Breathe Deeply: Keep your breath steady as you roll over muscles, as it helps with relaxation and prevents unnecessary tension.
- Apply Pressure Gradually: Start with a light pressure and gradually increase it based on comfort. Don’t roll over bones or joints.
- Don’t Rush: Spend about 1-2 minutes per muscle group to get the full benefits.
Benefits of Foam Rolling:
- Improves flexibility and range of motion
- Reduces muscle soreness and tension
- Enhances circulation and blood flow
- Aids in post-workout recovery
- Helps prevent injury
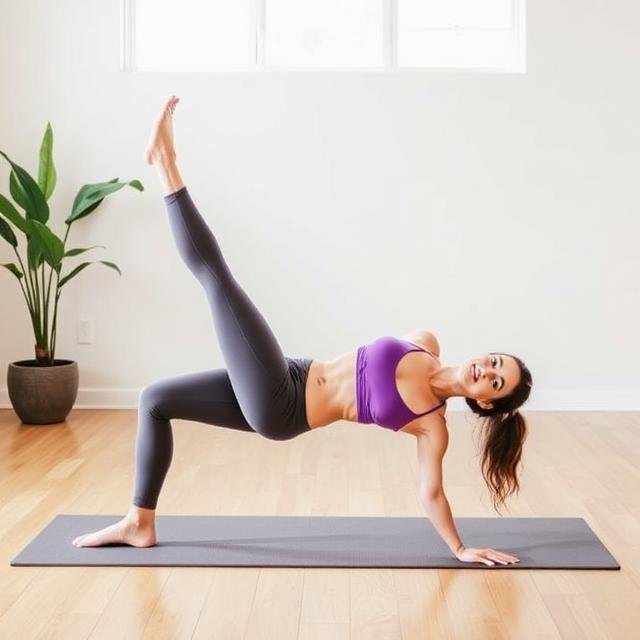
Pilates
Pilates is a low-impact exercise method that focuses on strengthening the core, improving flexibility, and enhancing overall body awareness. Developed by Joseph Pilates, this practice emphasizes controlled movements, proper breathing, and alignment to build strength without adding bulk. Pilates exercises target not only the abdominal muscles but also the back, hips, and pelvic floor, making it ideal for improving posture, balance, and stability. It can be performed on a mat or using specialized equipment like the Reformer. Suitable for people of all fitness levels, Pilates is often used for rehabilitation, injury prevention, and functional fitness, offering both physical and mental benefits through mindful movement.
Here’s an overview of the main types of Pilates:
1. Classical Pilates
- Focus: Traditional Pilates movements, closely following Joseph Pilates’ original principles.
- Equipment: Often uses a Reformer, Cadillac, and Wunda Chair.
- Method: Emphasizes precise control, fluidity, and form, incorporating the 34 classical exercises.
- Ideal For: Those who want to experience Pilates as it was originally designed, focusing on overall body conditioning and core strength.
2. Contemporary Pilates
- Focus: A modern approach that has evolved from the classical method, with adaptations based on new research and a more individualized approach.
- Equipment: Includes Reformer, Mat, and various other equipment like the Pilates Arc, BOSU, and Balance Board.
- Method: Incorporates both the classical Pilates moves and contemporary modifications to suit individual needs and body types. It might also blend elements of other fitness systems (e.g., yoga, strength training).
- Ideal For: Those looking for a versatile, adaptive workout that focuses on functional movement, strength, and flexibility.
3. Mat Pilates
- Focus: Pilates exercises performed on the mat without the use of equipment.
- Equipment: No machines; a mat is the primary tool.
- Method: Uses bodyweight for resistance to engage core muscles, improve posture, and increase flexibility. Movements are often slower and more controlled.
- Ideal For: Beginners or those who want a full-body workout focusing on core strength and muscle tone without equipment.
4. Reformer Pilates
- Focus: Uses the Reformer machine to add resistance, making the exercises more challenging and effective.
- Equipment: Reformer, a piece of equipment with a sliding carriage, springs, and ropes, which provide adjustable resistance.
- Method: The Reformer allows for more controlled movements and resistance, targeting specific muscle groups and promoting full-body strength.
- Ideal For: Those looking for a more challenging workout or individuals who want to focus on strength, flexibility, and muscle toning with added resistance.
5. Pilates for Rehabilitation (Physiotherapy Pilates)
- Focus: Designed for injury recovery and improving mobility, posture, and strength.
- Equipment: Often uses the Reformer, but can also include small props like resistance bands and balls.
- Method: Incorporates gentle Pilates exercises that emphasize controlled movement, alignment, and proper muscle activation. It is often customized to individual rehabilitation needs.
- Ideal For: People recovering from injuries or those with chronic pain, and those in need of a low-impact workout focused on rehabilitation.
6. Stott Pilates
- Focus: A modern variation of Pilates, created by Moira Stott. It emphasizes proper alignment, breathing, and stabilization.
- Equipment: Uses specialized equipment like the Reformer, Cadillac, Barrels, and Mat.
- Method: Stott Pilates follows the principles of classical Pilates but adapts movements to be safer for the spine, joints, and muscles.
- Ideal For: People looking for a safe, well-rounded Pilates workout with a focus on injury prevention and spinal health.
7. Power Pilates
- Focus: A faster-paced, high-intensity Pilates workout designed to increase strength and endurance.
- Equipment: Can be done on a mat or with a Reformer.
- Method: Focuses on more vigorous, dynamic movements with the goal of burning fat and building muscle. It combines traditional Pilates with elements of cardiovascular exercise.
- Ideal For: Those seeking a more intense workout that combines Pilates principles with strength and cardio benefits.
8. Clinical Pilates
- Focus: A clinical and therapeutic approach to Pilates, often prescribed by physiotherapists or other medical professionals.
- Equipment: Typically involves the Reformer and other equipment (e.g., Wunda Chair, Trapeze Table).
- Method: Tailored to the individual’s rehabilitation or health needs. Focuses on improving posture, core strength, flexibility, and muscle imbalances.
- Ideal For: Those with specific injuries or health concerns (e.g., back pain, joint problems) and people who need a more therapeutic Pilates approach.
9. Pilates for Athletes
- Focus: Pilates exercises designed to improve athletic performance, flexibility, balance, and strength.
- Equipment: Can involve the Reformer, Mat, and props like resistance bands or small balls.
- Method: Targeted exercises to enhance athletic movement patterns and optimize performance in sports like running, tennis, swimming, or cycling.
- Ideal For: Athletes who want to improve core stability, prevent injury, and increase flexibility.
10. Prenatal and Postnatal Pilates
- Focus: Pilates modified for pregnant women and new mothers, with special attention to pelvic floor muscles, posture, and body alignment.
- Equipment: Typically uses the Mat, small balls, and resistance bands.
- Method: Exercises are adapted to safely strengthen muscles, improve posture, and promote core stability while preventing excessive strain.
- Ideal For: Pregnant women (prenatal) and new mothers (postnatal) who wish to stay active, strengthen their body, and recover after childbirth.
Benefits of Pilates
- Core Strength: Pilates helps strengthen the core, which includes your abdomen, lower back, and pelvic muscles.
- Flexibility: It enhances flexibility through controlled stretching and movement.
- Posture: Pilates improves alignment and posture by working on body awareness and alignment.
- Balance & Stability: It promotes better balance, stability, and coordination.
- Injury Prevention: Helps in injury recovery and prevention by improving joint mobility and muscle strength.